 |
| Our Treehouse |
We went with the Log Cabin style when Alice was three (shown below). The advantage of using the log cabin style is that the sides of the house are stacked and built up a bit like Lincoln logs which makes things a lot easier for little hands.
Here is how to make the "log cabin" style house:

You'll want a large-ish square or rectangle for the roof. Ours was about 5 x 7 inches or so. Two right triangles of matching dimensions whose hypotenuse matches the "end" dimensions of your roof. You'll also need to make the "logs." Really these are just rectangles of gingerbread of different, but related sizes, and a quantity of small squares.
You can plan it all out so you know how many of each you will need, but if you are doing this activity with your kids, some of them will break, some will get eaten and inevitably you will find you didn't have the right number anyway. I suggest you just make lots of each size and let your kids "play" with the cookie sticks as though they are Lincoln Logs. They'll enjoy eating the extras and the whole adventure will be a lot more fun for everybody.
If you add one more piece that can act as the doorway by resting against the house where the "door" is, you can have a closed door as well, though this is certainly not necessary. Decorate as you wish. (This year, I'm hoping to incorporate left-over Halloween Candy that is still sitting around).
Gingerbread and Frosting Recipe and instructions
To Design almost any other Style of House:
This is by far the hardest way to make your house. I highly recommend that you START SIMPLE!!! You will need to sketch out how your house will look from all sides. By doing this first, you can have a visual of the shapes that make up your house. How many triangles will you need and what are their relative sizes?

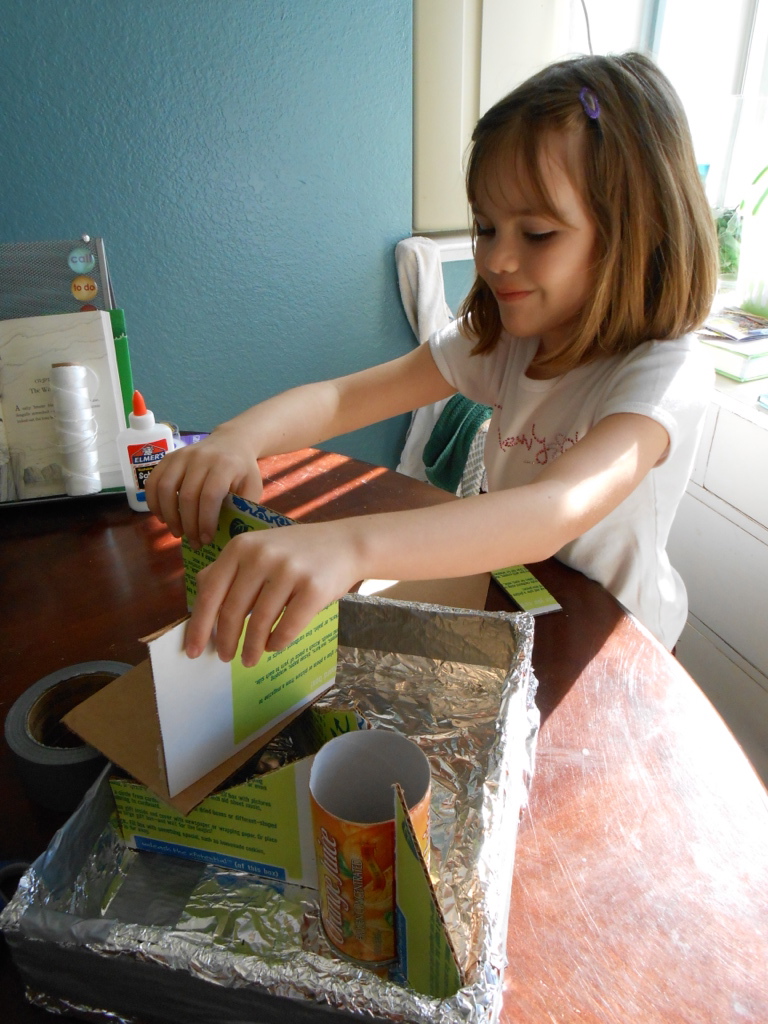
Then you'll need to test your design using cardboard. In this way you can shave down edges, make appropriate measurements, make sure everything fits AND test out the general physics of your design. This is the engineering stage. Plan some time for it. Construct your house so it can be deconstructed because you'll need the cardboard as patterns for sizing our your cookie pieces. Later, you can reconstruct the cardboard house and "Cheat" by having the cardboard inside to help the structure hold strong as well - but don't tell any one I suggested that!
At left, you can see our very first ever, self designed GB house. As you can see it is made up of VERY SIMPLE shapes. Because we were entering it in a contest, we couldn't use the cardboard underneath so you can see right inside as well. Pueblo style houses, four sided "box houses" like often come in basic kits, and simple A frames are all great "starter houses."
Once you have the cardboard version of your house constructed, mark the pieces to remind you which piece will be adjacent to which other pieces. For example mark an A on the left side of the front wall and a B on the right. On the adjoining wall, mark a B next to the B on the front piece and a C on the side opposite the B. Continue in this way until all your pieces are marked. You'll want to deconstruct your cardboard house so you can use the pieces as a patterns for your dough. You'll also want to keep track of the dough pieces by placing foil markers under them with the same writing. "Front," "Roof," etc. seem like they would be sufficient, but even a square won't always work when turned a different direction later unless you are incredibly precise while resizing the cookies immediately after taking them out of the oven. You'll need to place the cardboard on the dough and trace around the edges of it cutting with a knife. Sometimes the dough reshapes a little when you lift it onto the cookie sheet. So I recommend a GIGANTIC spatula if you can find one for this purpose.
 |
| Make Cardboard Forms First |
To resize your cookies, simply place your cardboard pieces on their matching cookies. For any spots where the cookie has swollen, make appropriate adjustments with your knife. You do have some time before the dough hardens to the point where this is likely to cause cracking, but not a LOT of time, so work efficiently. If the dough does harden, you can score it on both sides where cuts are needed first. Score many times and then treat it as though it is tile, but this increases the likelihood you will be re-baking your walls.
After allowing the cookies time to cool and harden you can use the recipe given on my other article about Gingerbread houses to glue the whole thing together. As mentioned before, I suggest using your cardboard "test structure" under your cookie structure to help hold everything together unless you will be entering a contest with some rule against such a choice.
Finish by decorating as desired!

No comments:
Post a Comment
Thanks for your comments!